Watercolor Back to School Borders
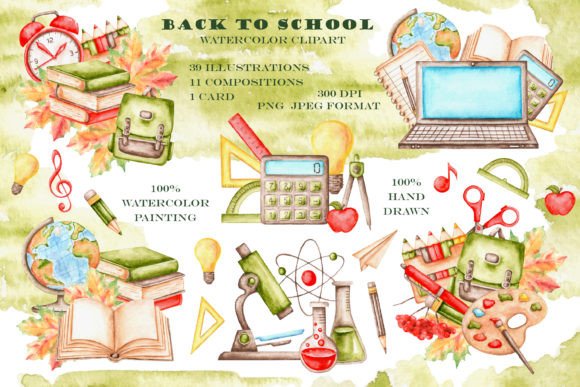
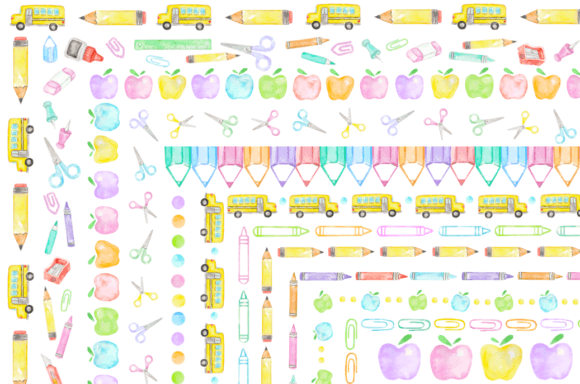
These aren’t mass-produced digital shapes—they’re hand-painted watercolor borders, scanned at 300 DPI, and delivered as clean, transparent PNGs. Each frame element carries the subtle texture, soft edges, and organic variation that only real brushstrokes can offer. That authenticity makes Watercolor Back to School Borders especially valuable when you need warmth and intention in your designs—not just decoration.
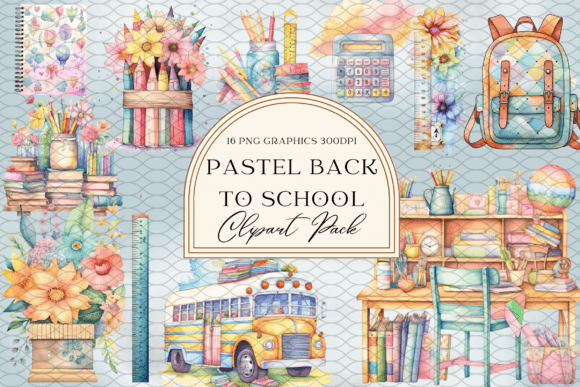
You’ll receive two zip files containing 16 unique clipart frame elements. All are sized to fit standard 8.5×11-inch layouts at print-ready resolution—ideal for planners, classroom posters, newsletters, or printable worksheets. The original painted swatches were roughly 5 cm wide, meaning every detail holds up beautifully whether scaled small for social media avatars or enlarged for bulletin board displays.
Why hand-painted matters in practice
When you use digitally generated borders, consistency often comes at the cost of character. With Watercolor Back to School Borders, no two frames are identical in pigment bleed or granulation—and that’s a feature, not a flaw. A teacher designing a welcome packet can choose a border with gentle blue washes for calm focus, or one with warm yellow accents to evoke energy and curiosity. A freelance designer building a back-to-school brand kit can layer multiple frames to create depth, then adjust opacity or blend modes to match client tone without losing tactile integrity.
This isn’t about “adding color.” It’s about adding context. Watercolor signals approachability, creativity, and care—qualities that resonate strongly with educators, parents, and students alike. That visual language works across platforms: a soft-edged border around an Instagram story feels more personal than a sharp vector; the same frame used on a PDF worksheet adds quiet authority without stiffness.
Creative uses beyond the obvious
Most people reach for borders to frame photos or define sections—but these watercolor elements invite reinterpretation:
- Layered backgrounds: Place a border in each corner of a design, rotate slightly, and lower opacity to build a cohesive but unobtrusive backdrop for text-heavy content like lesson plans or parent letters.
- Divider lines: Stretch a narrow horizontal frame across a page to separate headers from body copy—its irregular edge creates visual rhythm where a straight line would feel rigid.
- Badge accents: Cut out a corner section of a border and place it behind a student achievement badge or “First Day” icon to ground the graphic without competing for attention.
- Animated reveals: Designers using Canva or Adobe Express can animate individual border segments (e.g., top-left, then bottom-right) to guide attention in digital presentations or welcome videos.
Because all images have transparent backgrounds, there’s no need for time-consuming clipping or masking. Drop them into Photoshop, Illustrator, Affinity Designer, or even Google Slides—and they integrate cleanly, preserving their natural flow.
How different creators apply them intentionally
Educators use these borders to unify classroom materials without sacrificing clarity. One 4th-grade teacher prints her weekly schedule on pastel cardstock, then overlays a muted teal border at the top—just enough visual anchor to signal “this is your plan,” without distracting from due dates or learning goals. She reuses the same border across handouts all year, building subconscious recognition and routine.
Small business owners selling printable planners or teacher bundles use the frames to differentiate product tiers. A free download might feature a single light-wash border; paid versions include layered combinations—say, a soft coral outer frame with a delicate leaf motif inside—to visually communicate added value before the customer reads a single word.
Bloggers and content creators embed these borders in Pinterest pins or email headers to stand out in crowded feeds. Unlike bold fonts or saturated colors—which often get cut off or auto-cropped—these watercolor edges retain legibility at thumbnail size because their contrast is tonal, not chromatic. A pin titled “5 Low-Prep Back-to-School Routines” gains immediate warmth from a single lavender-tinted frame along its left edge.
Scrapbookers and card makers appreciate how easily these scale. Print one frame at 30% to tuck into a journal margin beside handwritten notes—or enlarge to 120% as a focal background for a handmade greeting card. Since they’re scanned—not traced—the subtle paper texture remains intact, giving physical projects dimension that flat vectors can’t replicate.
Keeping your work clear and audience-aligned
Transparency helps—but intentionality ensures impact. Before dropping in a border, ask: What role does this play right now? Is it framing? Separating? Softening? If it doesn’t serve a functional purpose—even a subtle one—it’s better left out. Overuse dilutes the effect and muddies hierarchy.
Stick to one or two complementary frames per project. Try pairing a cool-toned border (blues, lavenders) with warm text or icons to create balanced contrast. Avoid stacking multiple high-saturation frames unless your goal is energetic playfulness—most educational or professional contexts benefit from restraint.
Test readability early. Overlay your chosen border on a sample of real content—not placeholder text. If headlines or key bullet points vanish into pigment clouds, reduce opacity to 60–70%, or shift the frame to a less dense area of the layout (e.g., outer margins instead of full-width).
Getting started—no special tools needed
You don’t need advanced software to use Watercolor Back to School Borders well. Canva users can upload PNGs directly and resize with drag handles—no transparency loss. Teachers using Microsoft Word can insert, wrap text “tight,” and nudge into position for custom worksheet headers. Even beginners in Google Docs can paste borders into drawing canvases and layer them behind text boxes.
Start simple: pick one frame, place it at the top of a blank document, and type a heading over it. Adjust font weight and spacing until the text feels anchored—not buried. That small experiment reveals how much visual breathing room watercolor provides compared to solid-color bars or heavy outlines.
Then expand: try reversing the color scheme (place white text over a dark-wash border), or invert the frame by flipping it vertically to create mirrored symmetry. These small shifts yield fresh applications without needing new assets.
What makes Watercolor Back to School Borders enduring isn’t just its quality—it’s how quietly it supports your goals. Whether you’re welcoming students, launching a course, or designing a resource that lasts beyond August, these frames offer grounded, human-made warmth. Not as decoration, but as quiet reinforcement of care, clarity, and creative confidence.